
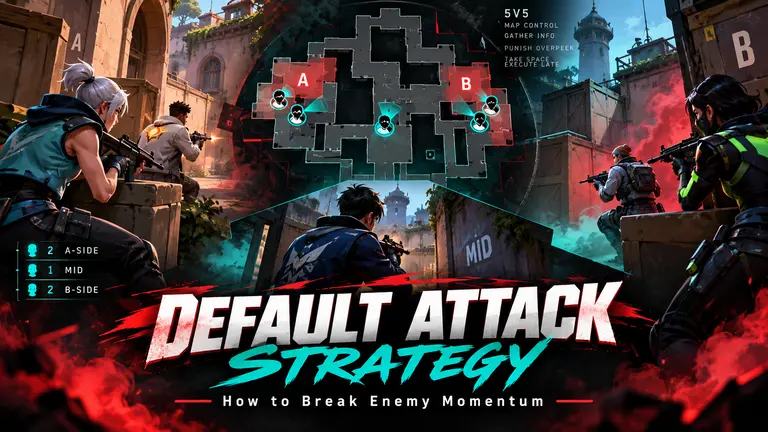
Stop Rushing! How to Use Default Attacks to Break Enemy Momentum in VALORANT
Winning attacking rounds isn’t always about rushing a site, securing the opening kill, or having better aim than your opponents. Sometimes, the smartest play is to slow down, spread out, gather information, and let the defenders make the first mistake.
That’s where defaulting comes in.
A default is an attacking strategy in which your team spreads across different areas of the map instead of immediately committing to one site. The objective is to establish map control, gather information, punish defensive aggression, and identify the best opportunity to execute.
Let’s explore when you should use this strategy, how to execute it, and how it can help your team regain control of a difficult attacking half.
1. When should you play default?
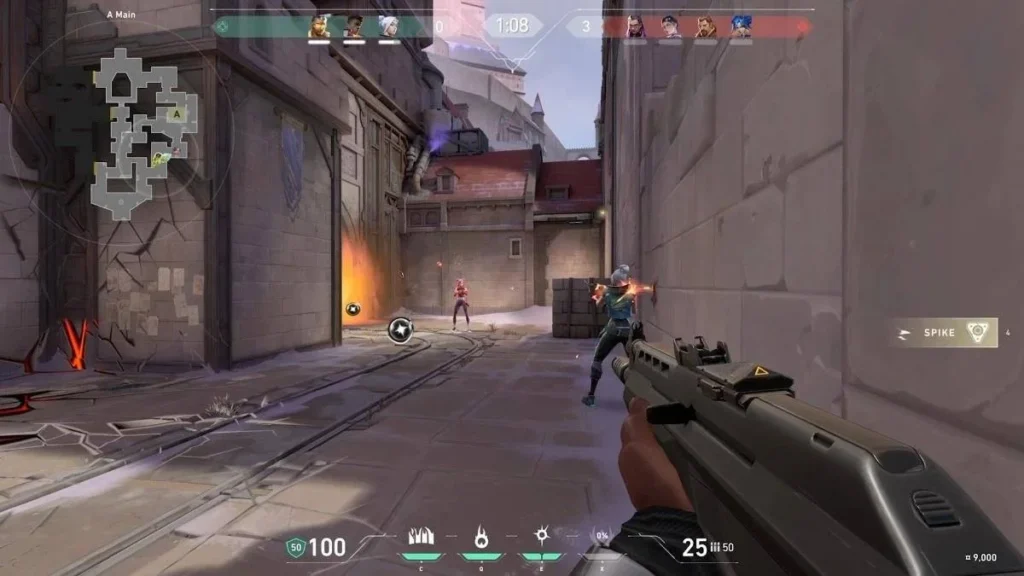
When your attacking pattern becomes predictable
Imagine your team has won several consecutive rounds by alternating between A and B. You win on A, then B, then A, then B again. By the next round, the defenders may anticipate another A-site attack and stack additional players there. The same problem can occur if you successfully attack A four rounds in a row. Eventually, opponents may start expecting you to return to A.
Instead of repeating the same pattern, a default allows you to delay your site commitment, gather information across the map, and make the defenders uncertain about your next move.
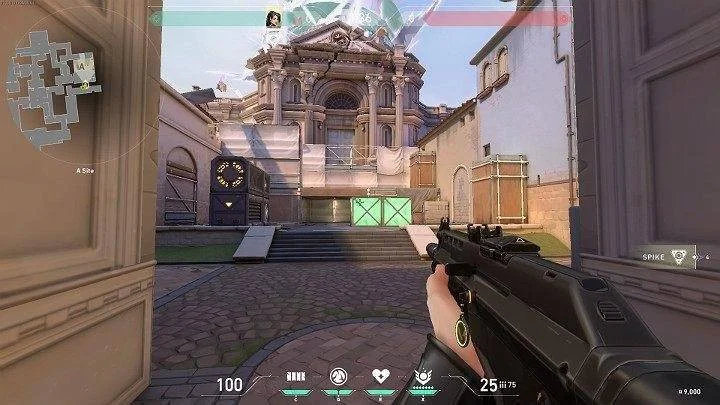
When your team keeps losing rushes
Imagine your team has lost several attacking rounds in a row. You’ve been using almost the same strategy every time: smoke the entry points, send your Duelist in, use Sentinel utility to watch the flank, and have everyone rush the site. Unfortunately, the defenders keep winning their opening duels, holding stronger angles, or executing well-coordinated retakes.
At this point, repeating the same approach may only strengthen the enemy’s momentum. Your team needs to change the pace.
If your economy is poor, you can use an eco round to preserve credits and prepare for a full buy. On your next gun round, consider switching to a default rather than immediately committing to another rush.
2. How does a default attack work?
The main difference between a rush and a default is that you don’t immediately commit all five players to the same site.
Instead, your team spreads across the map and takes control of important attacking areas.
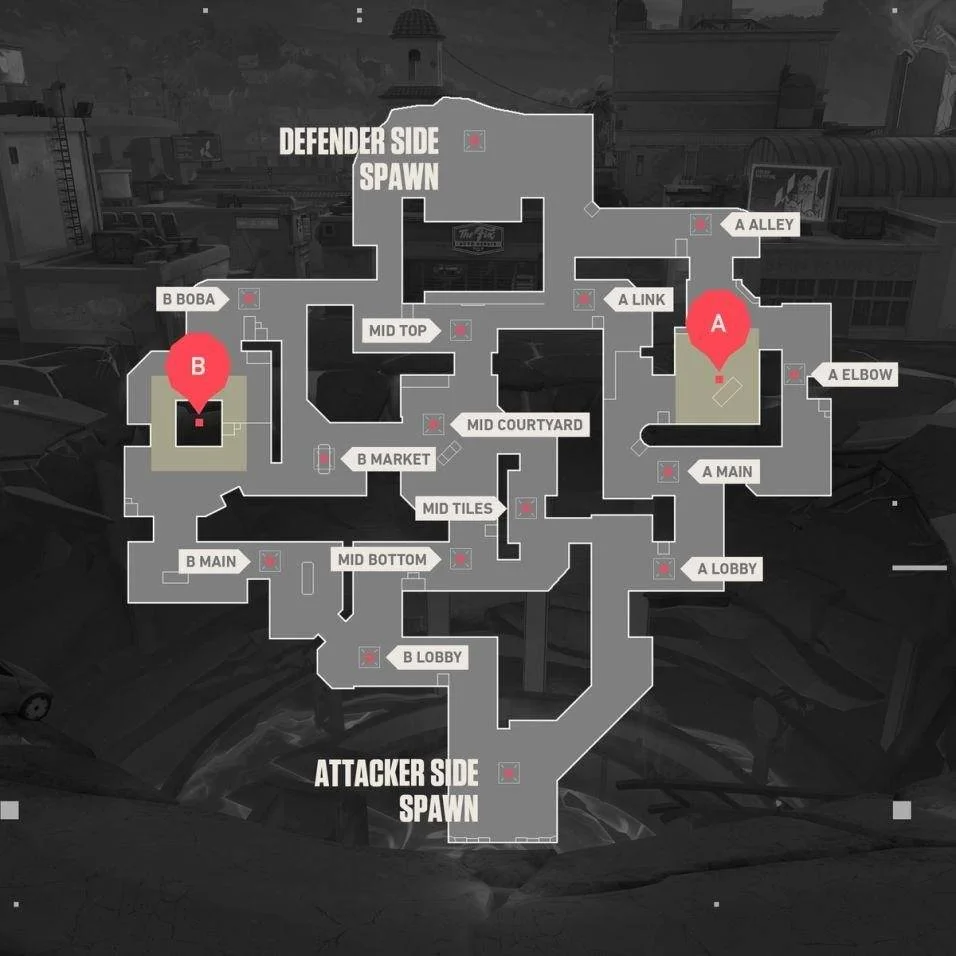
On a map such as Ascent, you can start with this simple setup:
- Two players at A Main: Control the entrance and watch for defenders pushing out.
- One player at Mid: Maintain mid-map control and gather information about rotations.
- Two players at B Main: Hold the entrance and prepare to punish aggressive defenders.
Example setup: 2–1–2. Adjust your positioning and utility according to the map and your team’s composition.
This doesn’t mean your entire team should simply stand still and wait for something to happen.
Your teammates should control important areas, use utility when necessary, listen for enemy movement, and communicate what they observe. Keep the Spike in a position where it can safely rotate toward either site.
The important part is that you haven’t revealed which site you’re planning to attack.
3. Let the defenders make the first mistake
One of the most effective ways to use a default is to punish defenders who become overly aggressive.
When defenders don’t receive information about your team’s location, some may try pushing beyond their normal defensive positions to discover where you’re attacking.
This creates an opportunity.
Instead of holding an obvious angle where the enemy can easily spot you, position yourself in a controlled area where you can catch an aggressive defender moving forward.
Imagine your two players at A Main are holding a coordinated crossfire. Two defenders decide to push A Main for information.
Your teammates are ready. They trade effectively and eliminate both defenders without losing a player.
OPPORTUNITY CREATED
5 vs 3
You’ve gained a two-player advantage and potentially weakened the defense around A. More importantly, the defenders now have less information and fewer players available to cover the map.
But this is where many attacking teams make a critical mistake.
Getting two kills at A Main doesn’t automatically mean you should rush A Site.
You need information from the rest of your team before making that decision.
4. Use information before committing to a site
Let’s continue with the previous example.
Your A Main players have eliminated two defenders. The obvious response might be for everyone to group up and execute A immediately.
However, there’s another possibility you need to consider.
What if the defenders coordinated their aggression? While two players pushed A Main, another defender may have pushed through B Main or Mid.
If you immediately execute A without checking the rest of the map, that defender could arrive behind your team during the site take or after the Spike is planted.
Now you’re dealing with several threats simultaneously: defenders rotating from their spawn, enemies retaking through connector areas, and a potential flank.
This is exactly why communication is one of the most important parts of defaulting.
Before committing to A, ask your teammates at Mid and B what they’ve seen or heard.
If your B players confirm that defenders are rotating away from B, your team may have an opportunity to take the less-defended site instead. If your teammates have maintained control of Mid and B Main, you can also make a more informed decision about whether A is safe to attack.
However, no information doesn’t necessarily mean an area is clear. A defender could still be hiding, holding an angle, or preparing a delayed flank.
5. Turn your information into a site execute
Once you’ve gathered enough information, it’s time to make a decision.
Suppose your team eliminates two defenders at A Main and your B players identify defenders rotating toward A. You now have an opportunity to attack a potentially weakened B Site. Instead of forcing your way into A, your team can regroup, move toward B, and execute before the defenders reorganize.
THE ADVANTAGE OF AN INFORMED EXECUTE
By making your site decision based on enemy movement, your team can reduce the number of angles it needs to worry about.
If you have maintained control of the relevant flank routes, your team can focus more attention on site entrances and the defenders’ likely retake paths. Getting onto the site early also gives you time to establish stronger post-plant positions, prepare your utility, and force the remaining defenders into less comfortable engagements.
The advantage isn’t simply that you’ve found an apparently empty site. It’s that you understand more about the enemy’s positions and can prepare for their response.
Remember to clear the site properly, maintain flank protection, and avoid becoming careless just because you’ve gained a player advantage. A well-coordinated retake or a powerful ultimate can still turn the round around.
6. What if the defenders refuse to push?
Defaulting won’t work exactly the same way against every opponent.
Some teams will recognize that you’re holding for aggression and simply refuse to leave their defensive positions. They may hold their sites, conserve utility, and wait for you to run out of time.
This is where an overly passive default becomes dangerous.
If you spend too much time waiting for defenders who never push, your team may eventually be forced into a desperate last-second execute. That gives the defenders a significant advantage because they can concentrate on holding their positions and delaying the plant.
Instead, gradually take space when it’s safe, use utility to clear important angles, gather information, and decide where you want to execute while there’s still enough time.
A successful default doesn’t require the defenders to push or give you free kills. It requires your team to use the available information to make a better attacking decision.
7. Don’t become predictable with your defaults
There’s another important weakness to consider.
If your team uses exactly the same default every round, the defenders will eventually recognize your setup.
They may stop pushing, use utility to force you away from important areas, or coordinate aggression against an isolated teammate. If the enemy wins an early duel against a player holding alone, your entire setup can become vulnerable.
This is particularly dangerous when your opponents consistently win aim duels, even in situations where you have a numerical advantage.
For example, your teammate at Mid could lose an isolated fight, giving the defenders a route behind your players at A or B.
That’s why communication, utility, trading, and adapting your positioning are essential.
You can use a default throughout an attacking half, but avoid repeating the exact same passive setup. When you’re trying to disrupt a predictable rush pattern or break an opponent’s momentum, even one or two well-executed default rounds can help you change the flow of the match.
After that, continue varying your pace. Return to your team’s strengths, mix in faster executes, and change where you apply pressure so the defenders can’t easily anticipate your approach.
Final thoughts: Control the map, not just the site
A default is about more than spreading five players across the map and waiting for someone to push. It’s about understanding your opponents, establishing map control, collecting information, and choosing the right moment to attack.
When you’re stuck in a losing streak or your attacking pattern becomes too predictable, slowing down can force the defenders to reconsider their own strategy.
But the biggest lesson is knowing what to do with the information you gather.